![]()
![]() R. Craig Collins >
Web Page Design >
Photoshop
R. Craig Collins >
Web Page Design >
Photoshop
Photoshop © R. Craig Collins, 2005/6
Using Photoshop , GIMP, or a similar graphic editor,
to adjust images for web pages requires you to use just a few menu items...typically:
File          Edit     Image           Select
Save          Copy     Adjustments     Deselect
Save As       Paste    >Auto...
                       >Brightness...

Save for Web...        Crop
Note: the text above was created using <pre></pre>
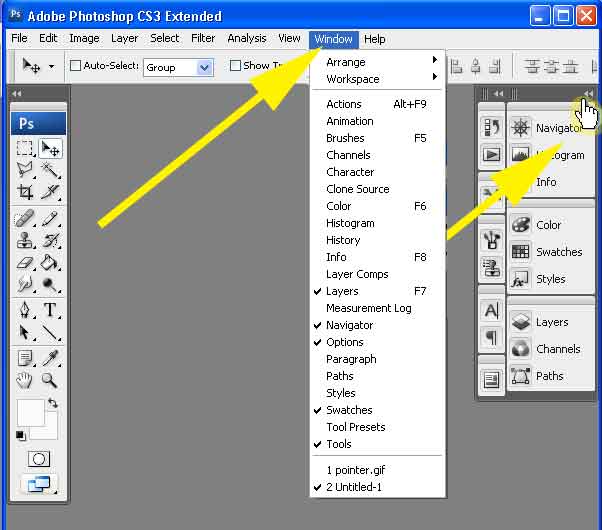
If you are using Photoshop CS3, click here for how I set up my Photoshop environment, to more closely resemble my screen shots.
You can right click an image and copy it, open your graphics editor, then use
Edit Paste.
(Note, the images below are fairly large, so I choose a lower quality to improve the download time... more on this later.)
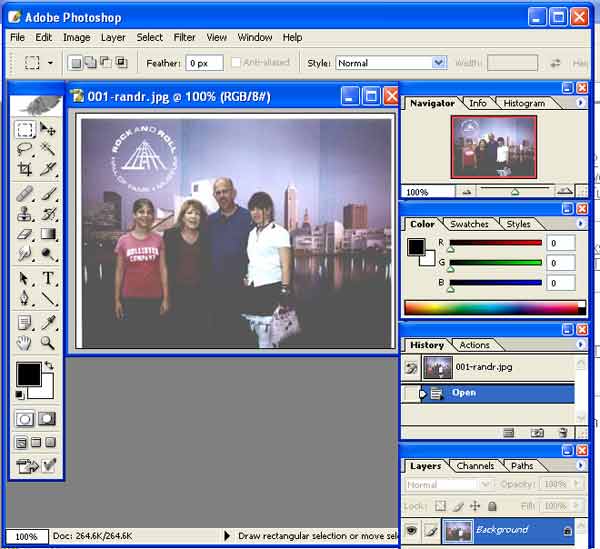
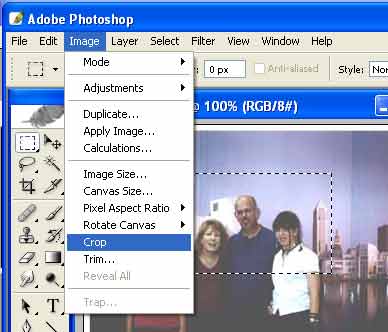
You could use the  selection tool to select just the part of the picture you wish to use, then
use Image\Crop.
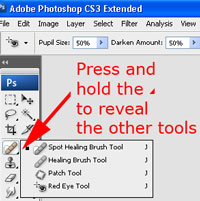
Note: Red Eye removal:
Once the excess part of the image is cropped, you may wish to adjust the brightness
and contrast.
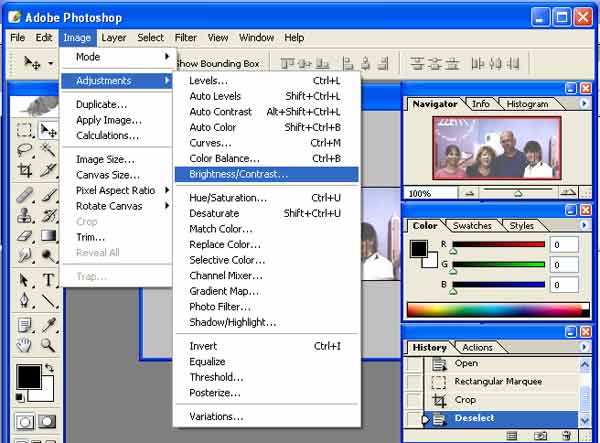
Brightness and contrast are adjusted with sliders, and you preview the change
as it occurs. To opt not to use the previewed changes, simply close the brightness
dialog box, or choose [Esc].
Now you have an adjusted, smaller image, as shown below.
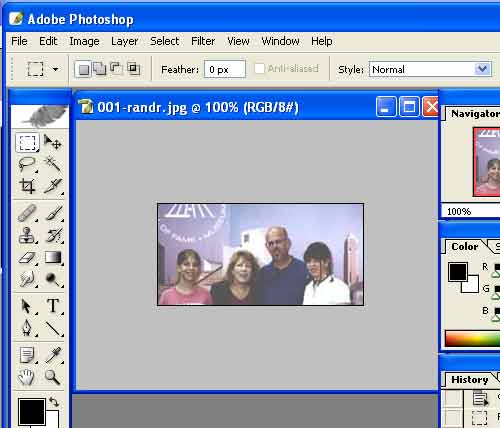
If you have multiple layers, you may need to choose Layers/Flatten Image, as web graphics such as jpg do not support layers.
Use File\Save As to save the image as a jpg (or gif, if a simple chart or drawing),
or better yet,
File/save for web... to optimize
the file; that is, to get the right blend of file size and quality for your
web page, and the best possible download time.
Note: creating image maps, for lab 7, is discussed here.
Setting up CS3 to a 'Classic' layout.
1) You can reveal the Layers, Swatches, etc., by choosing the Window menu item
2) You may change your sidebars from mini to standard by clicking the << or >>
