![]() R. Craig Collins >Common> Training Home Page> Camtasia
R. Craig Collins >Common> Training Home Page> Camtasia
How To: Camtasia © R. Craig Collins, 2008
To download a trial version of Camtasia, visit http://www.techsmith.com/download/camtasiatrial.asp
Getting Started tutorial from Camtasia
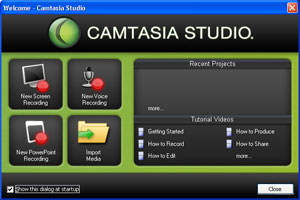 |
Camtasia Learning Center Video Tutorials for Camtasia
Always get your system set up and ready to go before starting Camtasia... have what you want to record ready to go. |
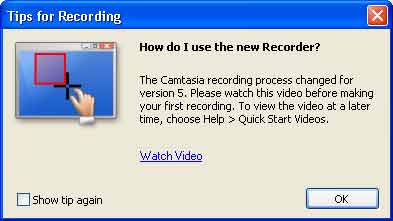 |
If you have used an older version of Camtasia, you may wish to watch a video on the new version... if you may wish to watch it later, choose []Show tip again before closing the window. |
Recorder Settings 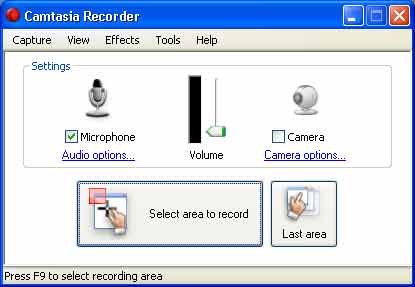 |
If you do not have a microphone, turn off the selection or the recording will fail. Select area to record. You can select full screen, a single window, or part of a window with the cursor. I recommend either doing full screen, or scaling your window to 640x480.
|
Project Settings 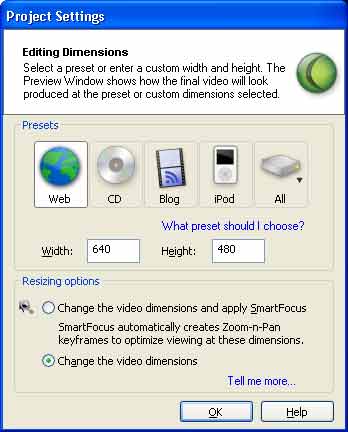 |
Smart focus will not work if the video captured is smaller than the output window... so if you record something 200x200, and use the web dimensions of 640x480, there is no way to pan. Either use the record button to start, or click [F9]. Either use the stop button to end the recording, or click [F10] You will be shown the video captured, you may save or delete. If you save, it will get the .camrec extension |
Editing 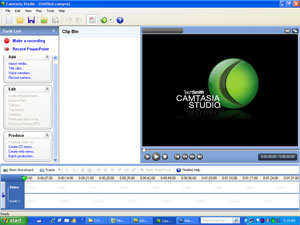  |
|
Produce the Video  |
|