![]()
![]() R. Craig Collins >
Intro to Computer Graphics >
Video, and Movie Maker
R. Craig Collins >
Intro to Computer Graphics >
Video, and Movie Maker
Video, and Microsoft Movie Maker (now in MS Photos © R. Craig Collins, 2008,2020
After reading over this, you can watch a short video on the process.
For all practical purposes, video is just a series of still images viewed in sequence, very much like an animated gif. But there are differences... audio can be included, the images are typically photographic quality, and there are usually between 24 and 30 images per second when approaching movie or TV quality.
Most operating systems now include some software for taking raw video footage and editing it; as well as software to display the video. Apple has iMovie, and Microsoft has Movie Maker for editing videos, and Quick TIme and Media Player for playback.
One of the more common standards for raw video is MPEG, for the Motion Picture Experts group. Some of the more common output formats are .avi for Windows, and .mov for Apple.
Editing
Editing a movie differs from editing an image in that normally you limit yourself to scenes and titles. Technically, you could edit all 24 images per second for balance and contrast, etc., but this discussion limits itself to just the basics.
A scene is a series of related images. A long video may have several scenes in it; think how TV shows may have an indoor scene, an outdoor scene, then a scene showing a later time period. Scenes can be split into pieces, and the pieces can be rearranged, duplicated, or deleted. Further, scenes from one video can be inserted into a different video,just as still images can be combined.
Often, there are transitions between scenes... a transition is the visual effect between scenes, such as fading in or fading out.
Titles are words that either come before or after a scene, or display over the scene, just as text can display on a transparent layer in an image.
Below is a simple overview to using Microsoft Movie Maker... a link to a 30 second video is available, if you would like to experiment using the product.
Windows Movie Maker*
(*Movie Maker is no longer supported; the features have been moved to MS Photos, under Video
However, the it may be easier to learn the tool if we examine what came first... Movie Maker.)
In Movie Maker, the steps of use are:
1) Capture the video, still images, and audio
2) Edit the movie, and
3) Finish the Movie.
Capturing the video is either pulling information from a camera, or copying files into the current production. For this class, I have prepared a very boring, short avi video of a lake you may use. Right click the file, and choose to save. Then import the AVI using Movie Maker.
Movie Maker may detect scenes, if so, drag any scenes you wish to use down to the storyboard at the bottom.
You may preview the video in the player to the right.
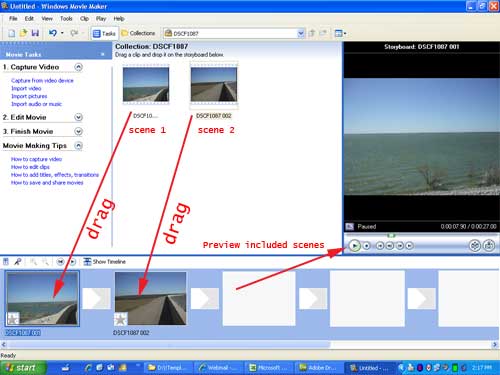
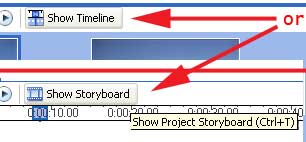
I prefer to use a timeline that instead of showing scene previews, shows time durations... it is also easier to split a scene in timeline.
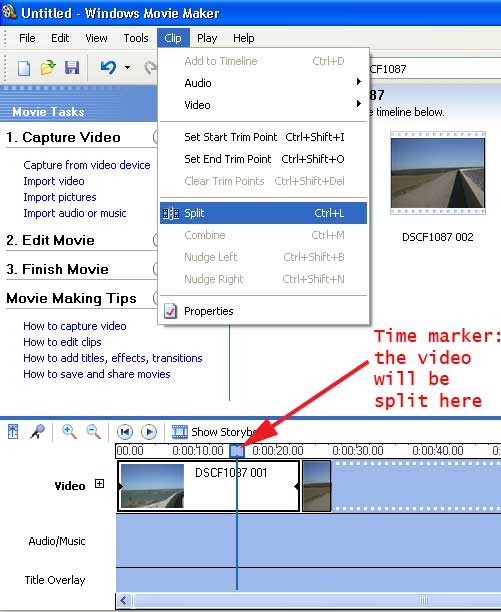
To divide, or split a scene, place the time marker where you would like the split to occur.
(You can review the movie, then click stop; or drag the time marker over the time line.)
Then choose Clip\Split or Ctrl+L.
You can also import images and drop them on the timeline to insert a still image that displays for a few seconds. Drag in a bunch of images, and make a movie slide show, if you like.
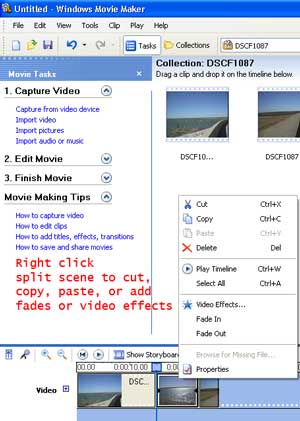
Rearranging scenes.
Once a scene is split, treat it like a work processor. Drag to a different location, right click and copy, or add a fade if you like. A fade is a transition, that is, how the next scene appears. More on editing below.
2. Edit Movie to further edit
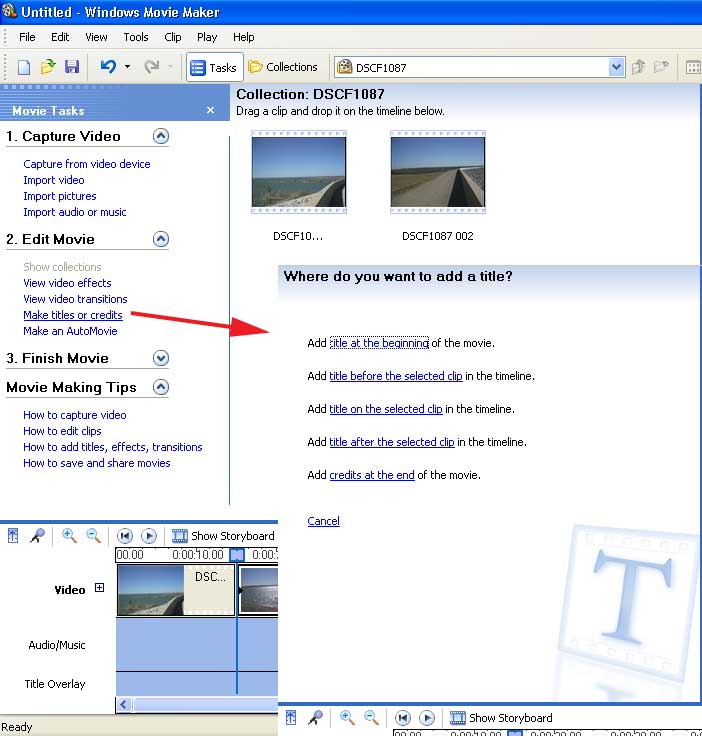
Aside from simple transitions, you may also add titles or credits.
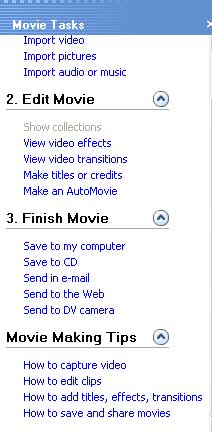
3.Finish Movie
Once you have arranged your scenes, perhaps added additional audio, titles, and credits, it is now time to save the project.
The options are shown below.
You can watch a short
video on this process.