![]() R. Craig Collins >Common>How To: Work with selections and layers
R. Craig Collins >Common>How To: Work with selections and layers
How To: Work with selections and layers © R. Craig Collins, 2010
Selection
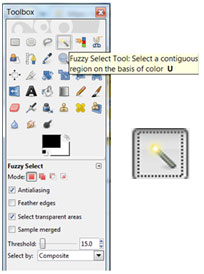
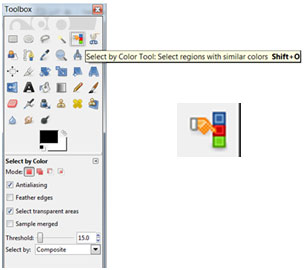
Both GIMP and Photoshop have the ability to select by color… either a contiguous region (click a spot of blue and only that spot becomes selected, or, non-contiguous (click a spot of blue, and any similar blue in the image is selected.)
In GIMP, this is done with two separate tools, the fuzzy select gets contiguous; the select by color does not.


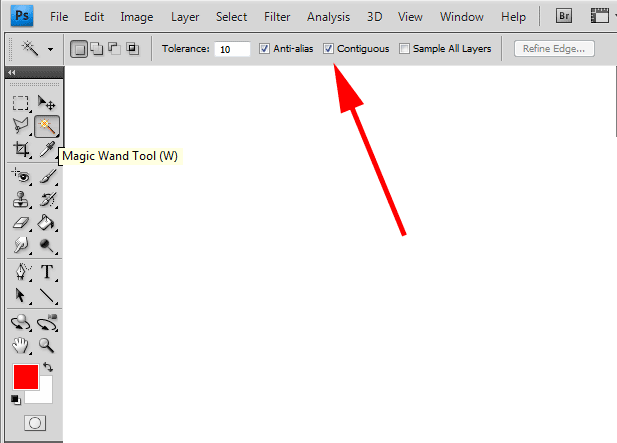
In Photoshop, you use the Magic Wand tool; click on or off the [ ]Contiguous box

While you have a color range selected, investigate the filters and color tools: color balance, hue and saturation, etc.
Both Photoshop and GIMP can also choose irregular shapes with the Lasso shaped selector option.
Note: You can ADD to a selection by pressing the Shift key down, and then selecting an additional area.
Layers
A tip on layers is to open a NEW image, and set the background color to Transparent. Make this image larger than you plan on needing, it will save you image and canvas sizing later... thought the file will be huge during the edit process.
This will also let you click on a layer and rearrange it in the stack, as Photoshop does not like to move the background layer.
The open images in other windows, select all (Ctrl+A), the copy (Ctrl+C). Switch to the new window and paste the image. In GIMP, choose Paste As\New Layer to avoid having to anchor the floating layer, etc.
File types while working
As neither png or jpeg support layers or transparency, you may wish to save your work-in-progress as the editor's native format.
GIMP uses xcf to
implement layers and/or transparency, while Photoshop uses psd to
implement layers and/or transparency.
While neither of these files types works on the web, and neither are good formats for distribution (you need the software to open the file), it is a great way to save your edited works for later re-edits.
Note: While Photoshop cannot open xcf, GIMP can open both xcf and psd.